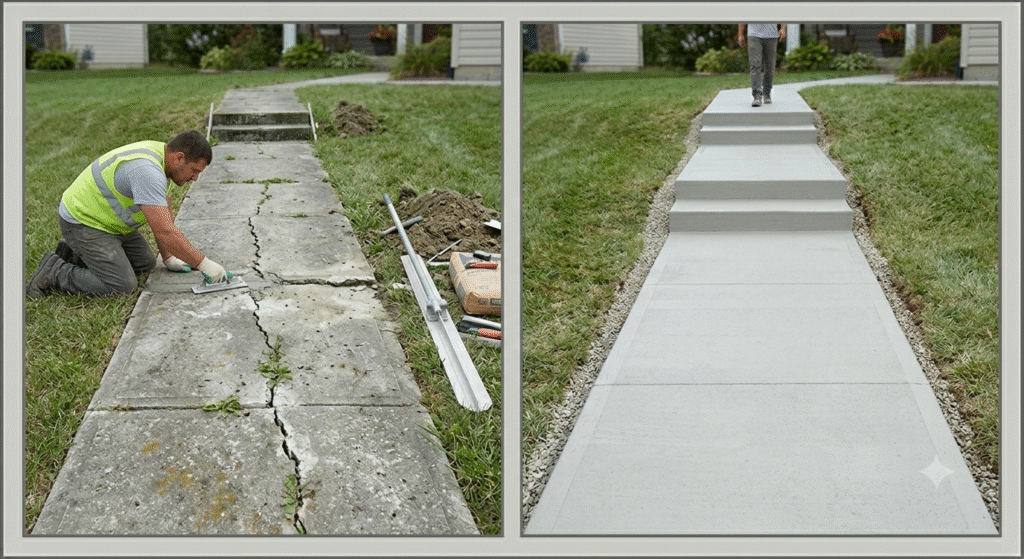
How to Restore Concrete Steps | Guide 2026
Concrete steps add durability, safety, and curb appeal to homes and commercial properties. However, years of exposure to rain, snow, sunlight, foot traffic, and temperature fluctuations can cause cracks, spalling, discoloration, and surface deterioration. Fortunately, restoring concrete steps can bring them back to life without the expense of a full replacement.
This guide explains how to restore concrete steps properly, helping you improve their appearance, extend their lifespan, and maintain structural integrity.
Why Restore Concrete Steps?
Over time, concrete naturally experiences wear and tear. Nevertheless, early restoration can prevent small issues from becoming costly repairs.
Benefits of restoring concrete steps include:
- Improved safety
- Enhanced curb appeal
- Increased property value
- Extended concrete lifespan
- Prevention of further damage
- Lower costs compared to replacement
Additionally, a well-restored staircase creates a positive first impression for visitors and potential buyers.
Common Signs Your Concrete Steps Need Restoration
Before beginning the project, inspect the steps carefully.
Look for:
- Surface cracks
- Chipped edges
- Spalling concrete
- Uneven surfaces
- Water damage
- Rust stains
- Discoloration
- Exposed aggregate
Furthermore, identify whether the damage affects only the surface or extends deeper into the structure.
Tools and Materials Needed
Gather all necessary supplies before starting the restoration process.
Tools
- Pressure washer
- Wire brush
- Hammer and chisel
- Trowel
- Concrete grinder
- Paint roller
- Safety goggles
- Work gloves
Materials
- Concrete cleaner
- Concrete patching compound
- Resurfacer
- Bonding adhesive
- Crack filler
- Concrete sealer
Having the proper materials ready ensures a smoother restoration project.
Step 1: Assess the Condition of the Steps
First, evaluate the extent of the damage.
Determine:
- Crack size
- Depth of deterioration
- Structural stability
- Moisture problems
Additionally, check whether the steps have shifted or settled. Structural movement often requires professional evaluation before cosmetic restoration begins.
A thorough assessment helps you choose the correct repair methods.
Step 2: Clean the Surface Thoroughly
Surface preparation is one of the most important parts of concrete restoration.
Remove:
- Dirt
- Dust
- Mold
- Mildew
- Loose concrete
- Oil stains
Use a pressure washer for deep cleaning. Then allow the steps to dry completely.
As a result, repair materials bond more effectively to the concrete surface.
Step 3: Remove Loose and Damaged Concrete
Next, eliminate all weak material.
Use a hammer and chisel to remove:
- Flaking concrete
- Spalled areas
- Loose fragments
Additionally, use a wire brush to clean damaged sections thoroughly.
This step creates a solid surface for repairs and improves adhesion.
Step 4: Repair Cracks
Cracks can worsen if you leave them untreated.
For small cracks:
- Use a concrete crack filler.
- Apply the product according to manufacturer instructions.
- Smooth the surface evenly.
For larger cracks:
- Widen the crack slightly if necessary.
- Apply a patching compound.
- Compact the material firmly.
Consequently, the repaired area becomes stronger and more resistant to moisture infiltration.
Step 5: Patch Chipped Edges and Corners
Concrete step edges often experience the most damage due to impact and weather exposure.
To repair edges:
- Apply a bonding adhesive.
- Install a temporary form if needed.
- Fill damaged areas with repair mortar.
- Shape the material carefully.
Furthermore, use a trowel to recreate sharp, clean edges that match the original profile.
Step 6: Apply Concrete Resurfacer
If the surface appears worn, stained, or uneven, apply a concrete resurfacer.
Concrete resurfacing offers several benefits:
- Covers minor imperfections
- Improves appearance
- Creates a uniform finish
- Enhances durability
Mix the resurfacer according to product instructions. Then spread it evenly using a trowel or squeegee.
Additionally, work quickly because resurfacing materials often set rapidly.
Step 7: Create a Slip-Resistant Finish
Safety should remain a priority during restoration.
Before the resurfacer cures completely:
- Use a broom finish
- Add slip-resistant additives
- Create a textured surface
As a result, the steps remain safer during wet or icy conditions.
Step 8: Allow Proper Curing
After completing repairs, allow sufficient curing time.
Although drying may occur within a few hours, full curing often takes several days.
During this period:
- Avoid heavy foot traffic
- Protect the surface from rain
- Follow product-specific guidelines
Patience during curing improves long-term durability.
Step 9: Seal the Concrete
Once repairs cure fully, apply a quality concrete sealer.
Sealing provides several advantages:
- Water resistance
- Stain protection
- Freeze-thaw protection
- UV resistance
Furthermore, sealers help maintain the restored appearance for many years.
Apply the sealer evenly using a roller or sprayer and allow it to dry completely.
Common Mistakes to Avoid
Many restoration projects fail because homeowners overlook important details.
Avoid these common mistakes:
- Skipping surface preparation
- Applying repairs to dirty concrete
- Ignoring moisture issues
- Using incompatible products
- Rushing curing times
- Neglecting sealing
Therefore, careful attention to every step improves restoration success.
Maintenance Tips After Restoration
Regular maintenance keeps restored concrete steps in excellent condition.
Follow these practices:
- Sweep debris regularly
- Clean stains promptly
- Reseal every few years
- Repair small cracks immediately
- Improve drainage around the steps
Additionally, avoid using harsh de-icing chemicals that can damage concrete surfaces.
When to Replace Instead of Restore
In some cases, restoration may not be enough.
Consider replacement if:
- Large structural cracks exist
- The steps have significant settlement
- Reinforcement bars are severely corroded
- Extensive deterioration affects stability
However, most minor to moderate damage responds well to restoration techniques.
Conclusion
Learning how to restore concrete steps can save money while improving both safety and appearance. By cleaning the surface thoroughly, repairing cracks, patching damaged areas, resurfacing worn sections, and applying a protective sealer, you can dramatically extend the life of your concrete stairs. Moreover, regular maintenance helps prevent future damage and keeps the steps looking attractive for years to come.
FAQs
Can I restore concrete steps myself?
Yes. Many homeowners successfully restore concrete steps using patching compounds, resurfacers, and sealers. However, structural damage may require professional assistance.
What causes concrete steps to deteriorate?
Weather exposure, freeze-thaw cycles, water infiltration, heavy foot traffic, and poor drainage commonly contribute to concrete deterioration.
How long does concrete step restoration last?
Properly restored and sealed concrete steps can last many years, especially when homeowners perform regular maintenance.
What is concrete resurfacing?
Concrete resurfacing involves applying a thin layer of repair material over existing concrete to improve appearance and durability.
Should I seal restored concrete steps?
Yes. Sealing protects against moisture, stains, UV damage, and freeze-thaw deterioration.